楼主 #1 2019-02-23 14:22:31 分享评论
- smartcar
- 会员
- 注册时间: 2018-02-19
- 已发帖子: 735
- 积分: 735
买了一片 arduino mega2560 R3 开发板
pdf 原理图: https://www.arduino.cc/en/uploads/Main/arduino-mega2560_R3-sch.pdf
eagle原理图PCB: http://arduino.cc/en/uploads/Main/arduino-mega2560_R3-ref-design.zip
arduino windows集成开发环境下载: https://downloads.arduino.cc/arduino-1.8.8-windows.zip
以上是官方资料.
最近编辑记录 smartcar (2019-02-23 14:24:25)
离线
楼主 #2 2019-02-23 14:52:59 分享评论
- smartcar
- 会员
- 注册时间: 2018-02-19
- 已发帖子: 735
- 积分: 735
Re: 买了一片 arduino mega2560 R3 开发板
arduino 自带的LED亮灭切换程序:
/*
  Blink

  Turns an LED on for one second, then off for one second, repeatedly.

  Most Arduinos have an on-board LED you can control. On the UNO, MEGA and ZERO
  it is attached to digital pin 13, on MKR1000 on pin 6. LED_BUILTIN is set to
  the correct LED pin independent of which board is used.
  If you want to know what pin the on-board LED is connected to on your Arduino
  model, check the Technical Specs of your board at:
  [url]https://www.arduino.cc/en/Main/Products[/url]

  modified 8 May 2014
  by Scott Fitzgerald
  modified 2 Sep 2016
  by Arturo Guadalupi
  modified 8 Sep 2016
  by Colby Newman

  This example code is in the public domain.

  [url]http://www.arduino.cc/en/Tutorial/Blink[/url]
*/

// the setup function runs once when you press reset or power the board
void setup() {
  // initialize digital pin LED_BUILTIN as an output.
  pinMode(LED_BUILTIN, OUTPUT);
}

// the loop function runs over and over again forever
void loop() {
  digitalWrite(LED_BUILTIN, HIGH);   // turn the LED on (HIGH is the voltage level)
  delay(1000);                       // wait for a second
  digitalWrite(LED_BUILTIN, LOW);    // turn the LED off by making the voltage LOW
  delay(1000);                       // wait for a second
}
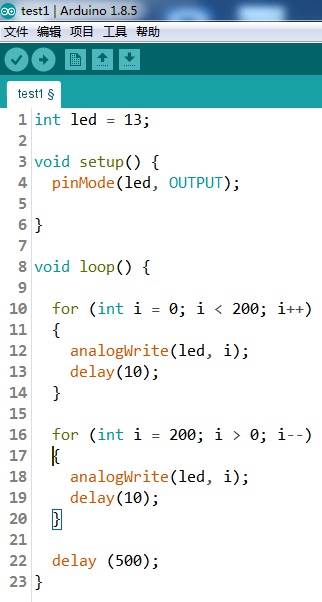
改为呼吸灯:
int led = 13;
void setup() {
pinMode(led, OUTPUT);}
void loop() {
for (int i = 0; i < 200; i++){
analogWrite(led, i);
delay(10);
}for (int i = 200; i > 0; i--){
analogWrite(led, i);
delay(10);
}delay (500);
}

效果还挺不错。
最近编辑记录 smartcar (2019-02-23 14:54:52)
离线
感谢为中文互联网持续输出优质内容的各位老铁们。
QQ: 516333132, 微信(wechat): whycan_cn (哇酷网/挖坑网/填坑网) service@whycan.cn
太原小智科技有限责任公司 - 东莞哇酷科技有限公司联合开发
太原小智科技有限责任公司 - 东莞哇酷科技有限公司联合开发