- 首页
- » 搜索
- » 已完成。成。成。 发表的帖子
页次: 1
#3 Re: Cortex M0/M3/M4/M7 » 做了点普冉py32f002A的开发板 » 2023-09-19 07:31:41

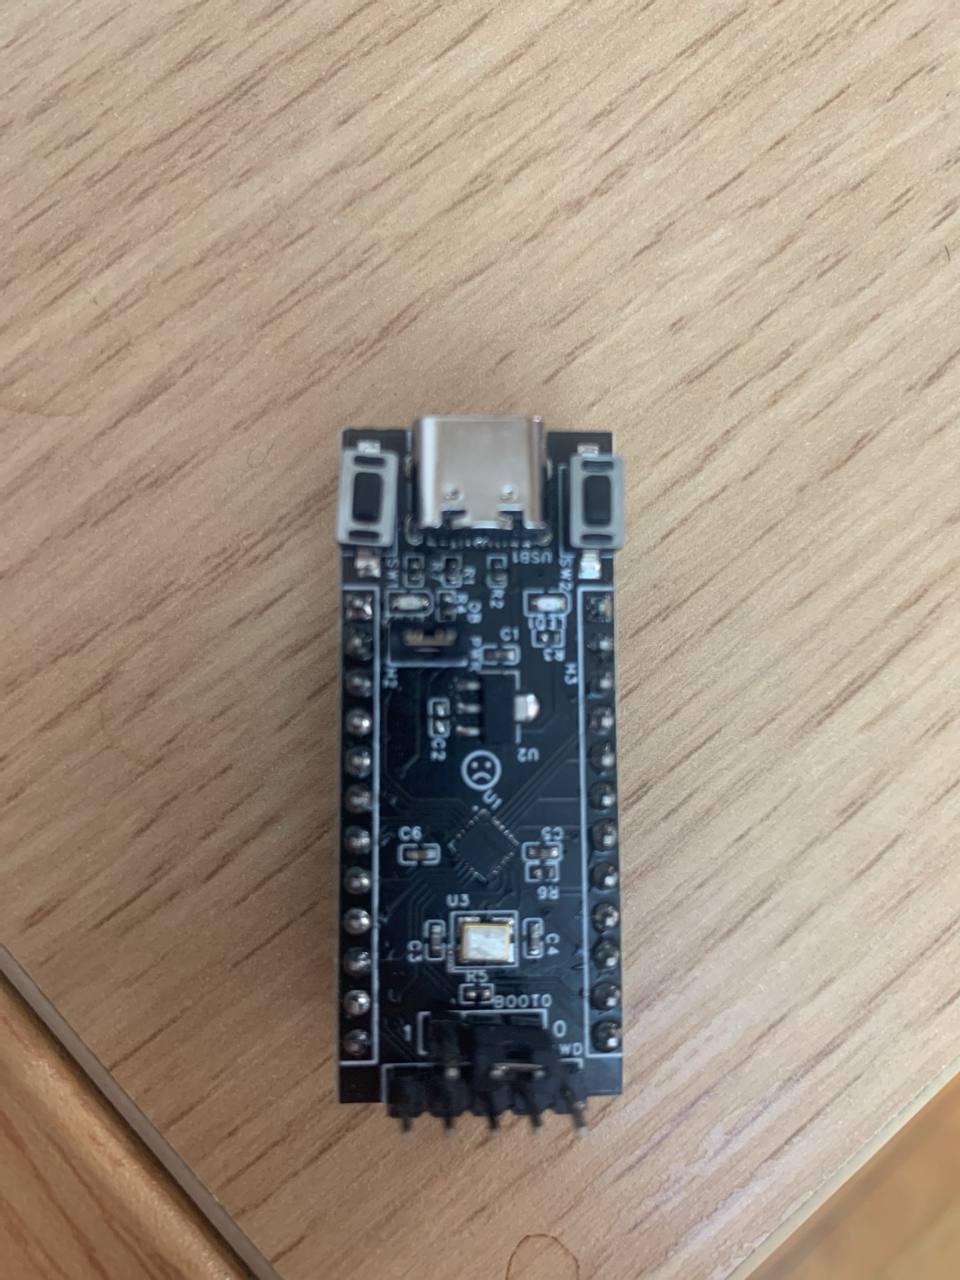
板子贴好了,blink测试可以用,可以使用stm32cubeprogram串口模式下载
https://item.taobao.com/item.htm?ft=t&id=738500604834
坛友私聊客服关键词 挖坑 可以获得前5片9.9元,2片起包邮
#5 Cortex M0/M3/M4/M7 » 做了点普冉py32f002A的开发板 » 2023-09-12 16:06:07
- 已完成。成。成。
- 回复: 8
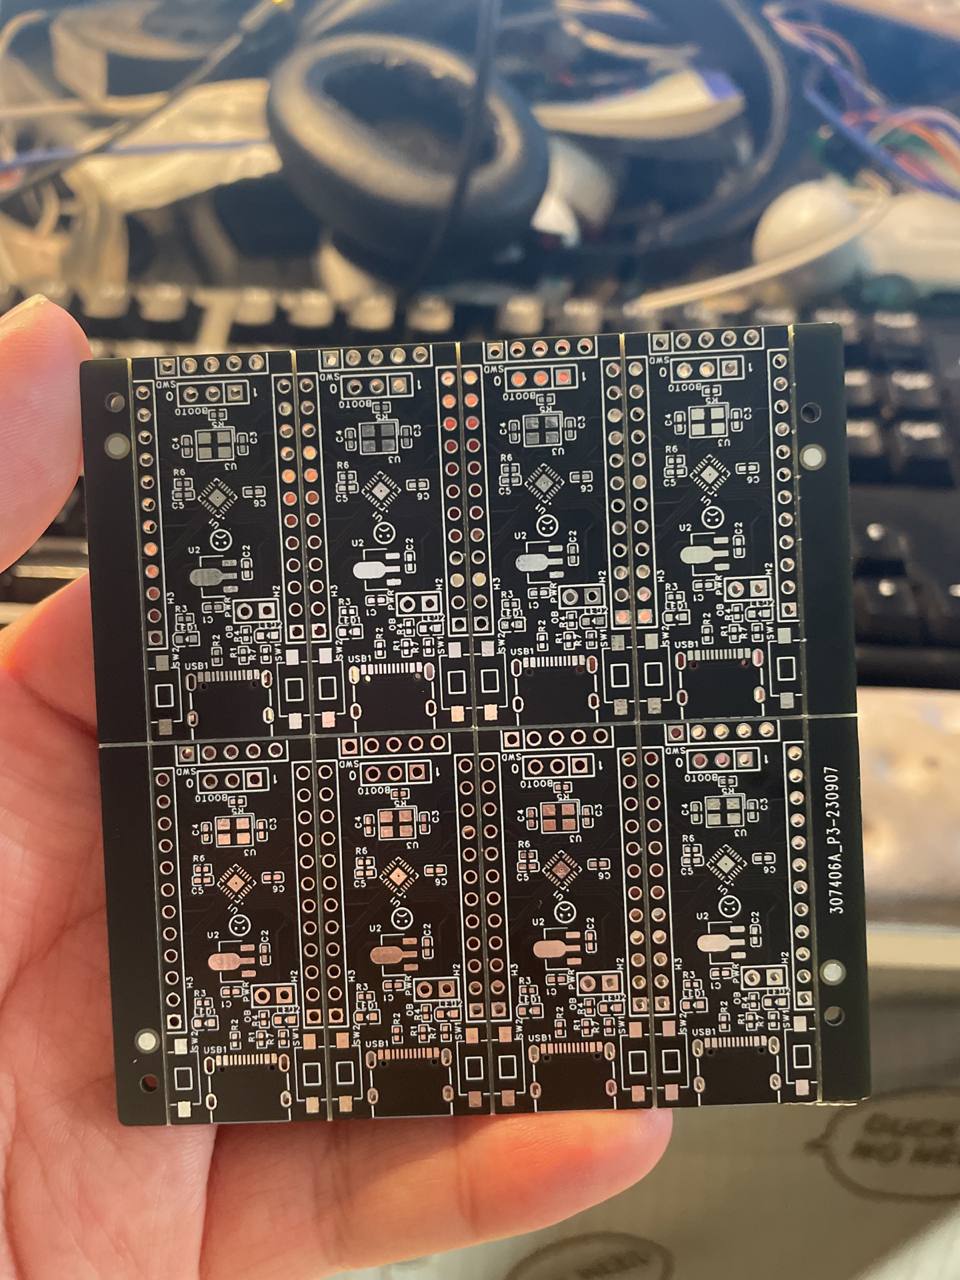
根据puya官方的资料设计了一个小开发板
--------
采用PY32F002AF15U6TR单片机,QFN20封装,19个GPIO 8mA驱动电流
3Kbyte SRAM + 20Kbyte FLASH
内部8/24M HSI 32.768KHz LSI, 板载24M HSE晶振
工作电压1.7~5.5v,通过板上跳线可以选择是否由板载3.3V LDO供电
共有9个外部ADC+2个内部ADC通道
板上有1个电源LED,1个用户LED连接至PA5,1个RST按钮连接至PF2,1个用户按钮连接至PB5
1个TypeC供电接口
2个12pin排针引出全部IO
1个5pin排针用于swd调试
1个3pin排针用于切换启动模式
1个供电跳线用于切换板载/外部供电
--------
贴完了之后会上架淘宝并公开开发资料

#6 Re: 哇酷地摊(跳蚤市场) » 收个树莓派3b/3b+/4b » 2022-08-14 02:07:56
#8 Re: 全志 SOC » f1c100s性能和stm32哪个型号性能差不多啊 » 2021-12-15 14:39:40
#9 全志 SOC » 从全志获取D1s的SDK并应用到芒果派Nezha MQ » 2021-12-15 14:29:49
- 已完成。成。成。
- 回复: 6
如何正确的从全志获得D1s的SDK
获取代码需要使用Linux系统例如Debian 10/11 Ubuntu 18.04~ Fedora 33~ 并带有python3的环境,可以使用 wsl/wsl2 或者虚拟机 内容中所有的username均为自己的用户名,使用时请自行修改
从全志获取TinaLinux SDK时请确保你的电脑里没有Google的repo工具,全志的repo是Google Android repo工具的修改版
首先,我们要去Open Allwinner注册一个账号。
D1/D1s的SDK无需NDA
之后直接点击已开通产品包中的
D1_Tina_Open - SDK 选项
之后我们进入Linux环境 并在linux环境下输入如下指令
$ ssh-keygen
出现下面的内容时直接按回车跳过或手动配置即可,需要记住密钥的保存路径,后面要用
Generating public/private rsa key pair.
Enter file in which to save the key (/home/username/.ssh/id_rsa):
Created directory '/home/username/.ssh'.
Enter passphrase (empty for no passphrase):
Enter same passphrase again:
Your identification has been saved in /home/username/.ssh/id_rsa.
Your public key has been saved in /home/username/.ssh/id_rsa.pub.
The key fingerprint is:
阿巴阿巴阿巴
The key's randomart image is:
阿坝阿巴阿巴阿巴阿巴
当密钥产生后,我们需要执行命令来获取公钥
$ cat /home/username/.ssh/id_rsa.pub
你可以看到一个类似这样的东西
ssh-rsa 阿巴阿巴阿巴 username@localhost
我们将其中从ssh-rsa到username@localhost之间的部分复制
然后打开页面上的公钥管理,并点击创建,名称可以随便输入,然后将前面复制的密钥内容贴到公钥输入框内,点击确定。
然后我们需要配置ssh自动密钥并下载全志的repo工具:
将如下内容写入.ssh/config文件中
Host allwinner sdk.allwinnertech.com
HostName sdk.allwinnertech.com
identityFile ~/.ssh/id_rsa
User username
在一个容量充足(至少50GiB)的目录下执行命令获取全志repo工具
$ git clone ssh://username@sdk.allwinnertech.com/git_repo/repo.git
当如上命令执行完毕后修改repo/repo文件中REPO_URL='ssh://username@sdk.allwinnertech.com/git_repo/repo.git'部分替换username为当前用户名后执行以下命令将repo加入可执行指令
$ cp repo/repo /usr/bin/repo
$ chmod 777 /usr/bin/repo
之后回到
SDK目录
- D1
- D1_Tina_Open
跟着下载说明下载源码即可。需要注意的是,在repo init时会遇到一些错误,无需关注直接执行repo sync即可
当上面全部执行完毕后 我们应该可以看到文件夹内有以下内容
~/tina-d1-open$ ls -l
total 104
drwxr-xr-x 4 akira akira 4096 Dec 15 14:55 build
drwxr-xr-x 3 akira akira 4096 Dec 15 14:55 config
-r--r--r-- 1 akira akira 647 Dec 15 14:55 Config.in
drwxr-xr-x 3 akira akira 4096 Dec 15 14:55 device
drwxr-xr-x 3 akira akira 36864 Dec 15 14:55 dl
drwxr-xr-x 4 akira akira 4096 Dec 15 14:56 lichee
-r--r--r-- 1 akira akira 82 Dec 15 14:55 Makefile
drwxr-xr-x 25 akira akira 4096 Dec 15 14:56 package
drwxr-xr-x 4 akira akira 4096 Dec 15 14:56 prebuilt
-r-xr-xr-x 1 akira akira 16940 Dec 15 14:55 rules.mk
drwxr-xr-x 8 akira akira 4096 Dec 15 14:56 scripts
drwxr-xr-x 7 akira akira 4096 Dec 15 14:56 target
drwxr-xr-x 12 akira akira 4096 Dec 15 14:56 toolchain
drwxr-xr-x 69 akira akira 4096 Dec 15 14:56 tools
接下来 从芒果派群里群文件下载补丁包,覆盖进来就可以了
NHK
完
#15 Re: 全志 SOC » 计划做一个AIC800的超小HMI工控开发板,开源原理图封装库和layout的那种 » 2020-12-12 22:41:38
AIC800.zip
Eagle的AIC800封装库
#18 Re: 全志 SOC » V3s使用gstreamer的插件openmax调用cedar硬解码,荔枝派zero测试通过 » 2020-12-12 07:59:03
# gst-launch-1.0 filesrc location=/testfile/bad_apple.mp4 ! qtdemux ! h264parse
! omxh264dec ! autovideoconvert ! fbdevsink
Setting pipeline to PAUSED ...
ERROR: Pipeline doesn't want to pause.
ERROR: from element /GstPipeline:pipeline0/GstOMXH264Dec-omxh264dec:omxh264dec-omxh264dec0: Could not initialize supporting library.
Additional debug info:
../gst-libs/gst/video/gstvideodecoder.c(2517): gst_video_decoder_change_state (): /GstPipeline:pipeline0/GstOMXH264Dec-omxh264dec:omxh264dec-omxh264dec0:
Failed to open decoder
Setting pipeline to NULL ...
Freeing pipeline ...
在Widora mangopi R3的板子上基于aodzip大佬的buildroot修改,配置文件来自gst-omx.zip无修改依然无法使用
#19 Re: 全志 SOC » 全志F1C200S原理图+PCB(公版) » 2020-07-03 07:45:47
#20 Re: DIY/综合/Arduino/写字机/3D打印机/智能小车/平衡车/四轴飞行/MQTT/物联网 » WhyCan赞助项目-SuperHUB工程师专用USB-HUB » 2020-06-01 00:07:37
页次: 1
- 首页
- » 搜索
- » 已完成。成。成。 发表的帖子
太原小智科技有限责任公司 - 东莞哇酷科技有限公司联合开发