楼主 # 2026-01-30 11:04:37 分享评论
- geekchun
- 会员
- 注册时间: 2020-11-11
- 已发帖子: 82
- 积分: 112
老设备考古,台电A10t主线linux通过Cedrus硬解码测试方法
前段时间在台电A10t上适配了主线linux,并构建了ubuntu rootfs,看到sunxi社区Linux mainlining effort显示ve驱动已经支持了,所以开始挖坑测试主线下的硬解码。
参考链接: https://whycan.com/t_3051.html
以下是我使用的测试步骤
1.内核配置
内核版本5.10,更高版本下面步骤测试编译不过,确认开启
CONFIG_MEDIA_SUPPORT
CONFIG_MEDIA_CONTROLLER_REQUEST_API
CONFIG_MEDIA_CONTROLLER
CONFIG_V4L_MEM2MEM_DRIVERS
CONFIG_VIDEO_SUNXI_CEDRUS
同时设备树中cma内存分配增大一点
reserved-memory {
		default-pool {
			compatible = "shared-dma-pool";
			size = <0x8000000>;
			alloc-ranges = <0x40000000 0x10000000>;
		};
	};
编译完成后,将内核头文件install到文件系统内。
开机后应当出现/dev/video0和/dev/media0
编译libva-v4l2-request
https://github.com/bootlin/libva-v4l2-request
直接在A10上编译,首先通过apt安装依赖sudo apt install -y automake libtool pkg-config libva-dev libdrm-dev
在源码目录./autogen.sh && make && make install
把库文件拷贝一份,cp /usr/lib/dri/* /usr/lib/arm-linux-gnueabihf/dri/
验证驱动状态
sudo apt install v4l-utils libva-utils
export LIBVA_DRIVER_NAME=v4l2_request
vainfo
libva info: VA-API version 1.7.0
libva info: User environment variable requested driver 'v4l2_request'
libva info: Trying to open /usr/lib/arm-linux-gnueabihf/dri/v4l2_request_drv_video.so
libva info: Found init function __vaDriverInit_1_1
libva info: va_openDriver() returns 0
vainfo: VA-API version: 1.7 (libva 2.6.0)
vainfo: Driver version: v4l2-request
vainfo: Supported profile and entrypoints
      VAProfileMPEG2Simple            : VAEntrypointVLD
      VAProfileMPEG2Main              : VAEntrypointVLD
      VAProfileH264Main               : VAEntrypointVLD
      VAProfileH264High               : VAEntrypointVLD
      VAProfileH264ConstrainedBaseline: VAEntrypointVLD
      VAProfileH264MultiviewHigh      : VAEntrypointVLD
      VAProfileH264StereoHigh         : VAEntrypointVLD
v4l2-ctl -d /dev/video0 --list-formats-ext
ioctl: VIDIOC_ENUM_FMT
        Type: Video Capture

        [0]: 'ST12' (Sunxi Tiled NV12 Format, compressed)
编译测试程序v4l2-request-test
https://github.com/bootlin/v4l2-request-test
修改源码v4l2-request-test.c,跳过NV12的测试,直接使用A10的MB32.(A10运行会先匹配NV12,不知道为什么能成功)
for (i = 1; i < ARRAY_SIZE(formats); i++) {
		test = video_engine_format_test(video_fd,
						formats[i].v4l2_mplane, width,
						height, formats[i].v4l2_format);
		if (test) {
			selected_format = &formats[i];
			break;
		}
	}
直接make编译,运行./v4l2-request-test -l,就可以看到显示大胖兔子了
Config:
 Video path: /dev/video0
 Media path: /dev/media0
 DRM path: /dev/dri/card0
 DRM driver: sun4i-drm
 Slices path: data/bbb-mpeg2
 Slices filename format: slice-%d.dump
 FPS: 0

Preset:
 Name: bbb-mpeg2
 Description: big_buck_bunny_480p_MPEG2_MP2_25fps_1800K.MPG
 License: Creative Commons Attribution 3.0
 Attribution: Blender Foundation | www.blender.org
 Width: 854
 Height: 480
 Frames count: 25
 Format: MPEG2

Media device driver: cedrus
Destination format: Sunxi Tiled NV12 YUV
Scaling video from 854x480 to 1024x575+0+96

Processing frame 1/25
Loaded 40286 bytes of video slice data
Decoded video frame successfuly!
Frame decode time: 3148 us
Displayed video frame successfuly!
Frame display time: 13028 us

Processing frame 2/25
Loaded 7193 bytes of video slice data
Decoded video frame successfuly!
Frame decode time: 1811 us
Displayed video frame successfuly!
Frame display time: 14610 us
离线
楼主 #1 2026-01-30 11:10:04 分享评论
- geekchun
- 会员
- 注册时间: 2020-11-11
- 已发帖子: 82
- 积分: 112
Re: 老设备考古,台电A10t主线linux通过Cedrus硬解码测试方法
测试现场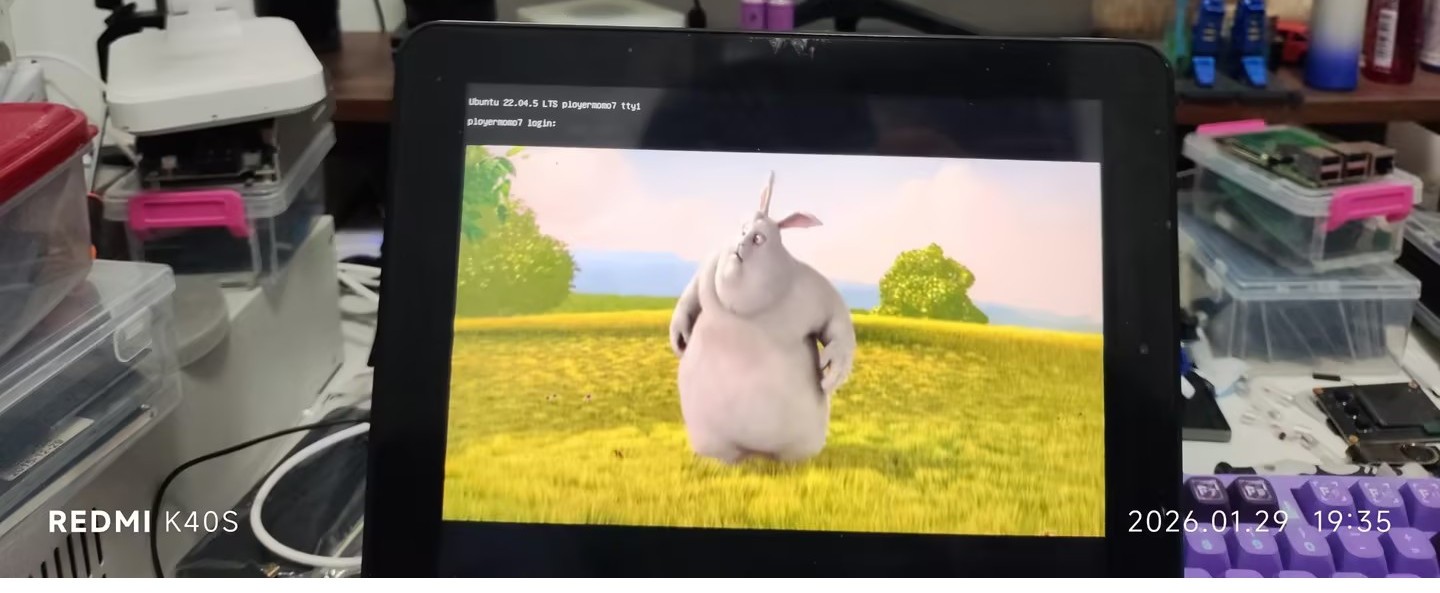
离线
楼主 #2 2026-01-30 11:13:20 分享评论
东莞哇酷科技有限公司开发