- 首页
- » 搜索
- » everlink 发表的帖子
页次: 1
#3 Re: DIY/综合/Arduino/写字机/3D打印机/智能小车/平衡车/四轴飞行/MQTT/物联网 » 有没有人有AK4493/AK4490等解码芯片参考原理图 » 2020-06-22 15:07:54
#8 Re: 全志 SOC » 请教:SPL 调试方法 » 2020-06-16 21:16:51
#9 Re: 全志 SOC » 请教:SPL 调试方法 » 2020-06-15 19:57:22
spl/sunxi-spl.bin我提到了第二项,并非spl/u-boot-spl.bin。
多谢你细心纠错,. 我等下试验看
更新:
改正了重新测试仍然没有能阻止进入fel模式
还尝试了
- 使用确定能够运行的 ( orangepi-zero 编译配置,之前在spi nor 试过 ok) sunxi-spl.bin 经由脚本转换后烧录
- 烧录确定能够在 f1c100s spi-nand 正常运行的 u-boot (https://github.com/hcly/f1c100s/blob/master/images/uboot-with-spl-spinand.bin)
都无法加载
还用 crc32 检查了烧录的数据没有问题
今天还反复看了好多遍这个 https://linux-sunxi.org/Bootable_SPI_flash#The_BROM_implementation_details
--
又另有想法,
1, 在 fel 加载 能运行的 uboot后查 ffff0000 地址,好像有code, 网上有说就是 brom. 或许dump出来用模拟器跑可慢慢查
2, 或者 用 jtag, attach 上去调 0xffff0000 地址运行跟踪看(在原厂工程师的环境,这个问题应该就是几分钟能确定的问题)
这两个方法对我来说有点折腾, 第一个是建环境有点花时间. 第二个是我没有jtag, 也不知道怎么连, 就算知道该怎么连我的板子可能还要改..
所以, 这个我得先放一放了... 搞不定.
#10 Re: 技术人生/软件使用技巧/破解经验/技术吐槽/灌水 » 寻找立创EDA比赛队友 » 2020-06-15 19:48:35
#11 Re: 全志 SOC » 请教:SPL 调试方法 » 2020-06-15 13:58:09
分享点调试经验吧,之前调试F1C的SPINAND遇到的:
1. 建议先导出BSP的SPL部分代码对比下,全志的brom确实是按照1k的形式进行的,但是我不知道后1k滞后偏移了512,
2. 需要能启动的文件是spl/sunxi-spl.bin,不是其他什么东西,只需要配置好这个就行。
3. 如果写入成功并且能够引导,系统将不会进入FEL烧录模式,这个是最直接验证镜像格式正确与否的方法。
4. 如果以上还不能确认,建议抓取波形观察。
谢谢你! 再请教两个问题
- 你提到的 "后1k滞后偏移了512" 详细是指第二个 1k 再加 512 偏移吗?
- 另外, 您的脚本是将 spl/u-boot-spl.bin 转换后直接烧到 spi-nand 进行测试吗?
(加入 import os,sys 后脚本就顺利执行, 我生成 bin 后烧写, 重新上电后还进入 fel 模式)
#12 Re: 全志 SOC » 请教:SPL 调试方法 » 2020-06-15 10:29:15
#13 Re: DIY/综合/Arduino/写字机/3D打印机/智能小车/平衡车/四轴飞行/MQTT/物联网 » BLDC开发板开车——02.小马达动起来!! » 2020-06-14 23:37:06
#14 Re: 全志 SOC » 请教:SPL 调试方法 » 2020-06-14 19:49:24
uboot有打印,spl没有打印?
我说的不够清楚, 详细是这样的
我有 f1c200s , h3 两个板子, 用 TF 卡确定板子能够工作, 两块板子都焊接了 1Gb 的 WINBOND SPI-NAND
使用Jie Lei位同学的资料,代码 确定 f1c200s + spi-nand 正常工作,
Jie Lei 同学资料和代码: https://github.com/hcly/f1c100s
烧录方法: sunxi-fel uboot uboot-with-spl-usb.bin write 0x80000000 uboot-with-spl-spinand.bin
然后
- 针对h3修改编译出来 uboot.bin 及生成烧写 spi-nand 的 bin
- 使用 sunxi-fel uboot xxx 能成功烧写到 h3+spi nand 板子
这里是 fel 运行 uboot, 使用uboot 进行烧写, 烧写过程是有打印的,没有看出异常
- 重启后 板子没有串口输出. (目前想法是 brom 没有成功加载 spi-nand 里面的 spl)
h3 平台 spi-nand 里面的 spl+uboot 跟上述步骤用于烧写的 uboot 仅有很少改动, 这个改动已经在 f1c200s 平台验证
另外读取 spi-nand 里面数据跟用于烧写的 bin 比对, 格式和结构上大致未发现异常, 还没有逐个字节比对
针对 h3 平台尝试修改 下载地址但结果并无差异( 0x80000000 -> 0x40000000)
sunxi-fel uboot uboot-with-spl-usb.bin write 0x40000000 uboot-with-spl-spinand.bin
sunxi-fel uboot uboot-with-spl-usb.bin write 0x41000000 uboot-with-spl-spinand.bin
#15 Re: 全志 SOC » 请教:SPL 调试方法 » 2020-06-14 18:59:55
#16 全志 SOC » 请教:SPL 调试方法 » 2020-06-14 18:30:30
#17 Re: 技术人生/软件使用技巧/破解经验/技术吐槽/灌水 » 寻找立创EDA比赛队友 » 2020-06-14 08:55:28
#18 Re: 全志 SOC » V3s/S3/f1c100s通过USB启动Linux,并把SD NAND/TF卡挂载为U盘, 可以dd或Win32DiskImager任烧写 » 2020-06-13 18:05:21
#19 Re: 全志 SOC » 请教:uboot mtd 命令 spi-nand » 2020-06-13 10:42:06
参考这个帖子: https://whycan.cn/t_3123.html
多谢!
#21 全志 SOC » 请教:uboot mtd 命令 spi-nand » 2020-06-13 10:23:25
- everlink
- 回复: 2
学习了各位大神的帖子,正在折腾f1c100 spi-nand
但是按照我阅读到帖子的流程,是需要用 SD 卡启动然后烧固件到 spi-nand
我注意到更新版本的 uboot 支持 mtd 命令
https://bootlin.com/blog/bootlin-spi-nand-support-uboot/
能不能用 sunxi-fei 把uboot 连同 image 一起下载到内存,然后 mtd 命令烧写呢?我试了一晚,没整出来
请教各位都是如何烧写的呢?
#22 Re: 全志 SOC » 求个F1C的工程师 » 2020-06-13 10:16:20
#24 全志 SOC » 请教: 通过 GPIO 作为 CS 扩展 SPI 数量是否可行,有没有同学试过 » 2020-06-12 10:20:14
- everlink
- 回复: 7
reference
https://community.onion.io/topic/3046/spi-add-devices-gpio-cs-shared-miso-mosi
全志系列,主线 kernel
想要多两个个 SPI,不知道通过增加 CS 是否容易实现,内核是否有 spinlock 机制
#25 Re: 全志 SOC » 求个F1C的工程师 » 2020-06-12 10:09:52
#27 Re: 全志 SOC » 请教: H3 发热问题,请教各位解决经验 » 2020-06-11 10:50:06
RK3308 平时约42度,满载58度左右
https://whycan.cn/files/members/1749/7D0103EE-09E1-41D5-A7F1-141A094752DC.jpeg
估计是因为 40nm 和 28nm(?) 代差?
芯片貌似贵很多.要想想看
#31 全志 SOC » {水} 整好板子又整了两天固件,发一个 H3 KERNEL 5.7 (BIN) » 2020-06-10 22:22:41
- everlink
- 回复: 11
https://whycan.cn/files/members/3162/h3-spiflash8m_bin.gz
[    0.141840][    T1] NET: Registered protocol family 2
[    0.143509][    T1] tcp_listen_portaddr_hash hash table entries: 512 (order: 0, 6144 bytes, linear)
[    0.143613][    T1] TCP established hash table entries: 1024 (order: 0, 4096 bytes, linear)
[    0.143703][    T1] TCP bind hash table entries: 1024 (order: 1, 8192 bytes, linear)
[    0.143791][    T1] TCP: Hash tables configured (established 1024 bind 1024)
[    0.144102][    T1] UDP hash table entries: 256 (order: 1, 8192 bytes, linear)
[    0.144207][    T1] UDP-Lite hash table entries: 256 (order: 1, 8192 bytes, linear)
[    0.144733][    T1] NET: Registered protocol family 1
[    0.149020][    T1] workingset: timestamp_bits=30 max_order=15 bucket_order=0
[    0.167464][    T1] jffs2: version 2.2. (NAND)  2001-2006 Red Hat, Inc.
[    0.168943][    T1] Block layer SCSI generic (bsg) driver version 0.4 loaded (major 249)
[    0.168985][    T1] io scheduler mq-deadline registered
[    0.169012][    T1] io scheduler kyber registered
[    0.186821][    T1] sun8i-h3-pinctrl 1c20800.pinctrl: initialized sunXi PIO driver
[    0.192118][    T1] sun8i-h3-r-pinctrl 1f02c00.pinctrl: initialized sunXi PIO driver
[    0.376655][    T1] Serial: 8250/16550 driver, 8 ports, IRQ sharing disabled
[    0.382524][    T1] sun8i-h3-pinctrl 1c20800.pinctrl: supply vcc-pa not found, using dummy regulator
[    0.384937][    T1] printk: console [ttyS0] disabled
[    0.385147][    T1] 1c28000.serial: ttyS0 at MMIO 0x1c28000 (irq = 35, base_baud = 1500000) is a 16550A
[    1.028890][    T1] printk: console [ttyS0] enabled
[    1.043667][    T1] sun8i-h3-pinctrl 1c20800.pinctrl: supply vcc-pc not found, using dummy regulator
[    1.056040][    T1] spi-nor spi0.0: w25q128 (16384 Kbytes)
[    1.061663][    T1] 4 fixed-partitions partitions found on MTD device spi0.0
[    1.068807][    T1] Creating 4 MTD partitions on "spi0.0":
[    1.074325][    T1] 0x000000000000-0x000000100000 : "u-boot"
[    1.084379][    T1] ftl_cs: FTL header not found.
[    1.092428][    T1] 0x000000100000-0x000000110000 : "dtb"
[    1.099595][    T1] ftl_cs: FTL header not found.
[    1.107455][    T1] 0x000000110000-0x000000510000 : "kernel"
[    1.117461][    T1] ftl_cs: FTL header not found.
[    1.125361][    T1] 0x000000510000-0x000001000000 : "rootfs"
[    1.133174][    C0] random: fast init done
[    1.139675][    T1] ftl_cs: FTL header not found.
[    1.150193][    T1] libphy: Fixed MDIO Bus: probed
[    1.155142][    T1] CAN device driver interface
[    1.161282][    T1] ehci_hcd: USB 2.0 'Enhanced' Host Controller (EHCI) Driver
[    1.168595][    T1] ehci-platform: EHCI generic platform driver
[    1.175205][    T1] ehci-platform 1c1b000.usb: EHCI Host Controller
[    1.181576][    T1] ehci-platform 1c1b000.usb: new USB bus registered, assigned bus number 1
[    1.190511][    T1] ehci-platform 1c1b000.usb: irq 24, io mem 0x01c1b000
[    1.224993][    T1] ehci-platform 1c1b000.usb: USB 2.0 started, EHCI 1.00
[    1.234215][    T1] hub 1-0:1.0: USB hub found
[    1.238880][    T1] hub 1-0:1.0: 1 port detected
[    1.245390][    T1] ehci-platform 1c1c000.usb: EHCI Host Controller
[    1.251745][    T1] ehci-platform 1c1c000.usb: new USB bus registered, assigned bus number 2
[    1.260595][    T1] ehci-platform 1c1c000.usb: irq 26, io mem 0x01c1c000
[    1.294976][    T1] ehci-platform 1c1c000.usb: USB 2.0 started, EHCI 1.00
[    1.303980][    T1] hub 2-0:1.0: USB hub found
[    1.308631][    T1] hub 2-0:1.0: 1 port detected
[    1.314993][    T1] ehci-platform 1c1d000.usb: EHCI Host Controller
[    1.321351][    T1] ehci-platform 1c1d000.usb: new USB bus registered, assigned bus number 3
[    1.330186][    T1] ehci-platform 1c1d000.usb: irq 28, io mem 0x01c1d000
[    1.364975][    T1] ehci-platform 1c1d000.usb: USB 2.0 started, EHCI 1.00
[    1.373924][    T1] hub 3-0:1.0: USB hub found
[    1.378575][    T1] hub 3-0:1.0: 1 port detected
[    1.384675][    T1] ohci_hcd: USB 1.1 'Open' Host Controller (OHCI) Driver
[    1.391667][    T1] ohci-platform: OHCI generic platform driver
[    1.398158][    T1] ohci-platform 1c1b400.usb: Generic Platform OHCI controller
[    1.405603][    T1] ohci-platform 1c1b400.usb: new USB bus registered, assigned bus number 4
[    1.414368][    T1] ohci-platform 1c1b400.usb: irq 25, io mem 0x01c1b400
[    1.492179][    T1] hub 4-0:1.0: USB hub found
[    1.496833][    T1] hub 4-0:1.0: 1 port detected
[    1.503134][    T1] ohci-platform 1c1c400.usb: Generic Platform OHCI controller
[    1.510588][    T1] ohci-platform 1c1c400.usb: new USB bus registered, assigned bus number 5
[    1.519404][    T1] ohci-platform 1c1c400.usb: irq 27, io mem 0x01c1c400
[    1.601075][    T1] hub 5-0:1.0: USB hub found
[    1.606004][    T1] hub 5-0:1.0: 1 port detected
[    1.612289][    T1] ohci-platform 1c1d400.usb: Generic Platform OHCI controller
[    1.619763][    T1] ohci-platform 1c1d400.usb: new USB bus registered, assigned bus number 6
[    1.628576][    T1] ohci-platform 1c1d400.usb: irq 29, io mem 0x01c1d400
[    1.711068][    T1] hub 6-0:1.0: USB hub found
[    1.715978][    T1] hub 6-0:1.0: 1 port detected
[    1.725875][    T1] sun6i-rtc 1f00000.rtc: registered as rtc0
[    1.731750][    T1] sun6i-rtc 1f00000.rtc: setting system clock to 1970-01-01T02:06:21 UTC (7581)
[    1.740710][    T1] sun6i-rtc 1f00000.rtc: RTC enabled
[    1.746227][    T1] i2c /dev entries driver
[    1.751075][    T1] IR NEC protocol handler initialized
[    1.756387][    T1] IR RC5(x/sz) protocol handler initialized
[    1.762150][    T1] IR RC6 protocol handler initialized
[    1.767427][    T1] IR JVC protocol handler initialized
[    1.772667][    T1] IR Sony protocol handler initialized
[    1.778038][    T1] IR SANYO protocol handler initialized
[    1.783454][    T1] IR Sharp protocol handler initialized
[    1.788902][    T1] IR MCE Keyboard/mouse protocol handler initialized
[    1.795487][    T1] IR XMP protocol handler initialized
[    1.802879][    T1] sunxi-wdt 1c20ca0.watchdog: Watchdog enabled (timeout=16 sec, nowayout=0)
[    1.811893][    T1] cpu cpu0: failed to get clock: -2
[    1.817072][    T1] cpufreq-dt: probe of cpufreq-dt failed with error -2
[    1.825434][    T1] sun8i-h3-pinctrl 1c20800.pinctrl: supply vcc-pf not found, using dummy regulator
[    1.836520][    T1] sunxi-mmc 1c0f000.mmc: Got CD GPIO
[    1.867612][    T1] sunxi-mmc 1c0f000.mmc: initialized, max. request size: 16384 KB
[    1.876396][    T1] sun8i-h3-r-pinctrl 1f02c00.pinctrl: supply vcc-pl not found, using dummy regulator
[    1.889069][    T1] usbcore: registered new interface driver usbhid
[    1.895444][    T1] usbhid: USB HID core driver
[    1.903590][    T1] NET: Registered protocol family 17
[    1.908916][    T1] can: controller area network core (rev 20170425 abi 9)
[    1.916116][    T1] NET: Registered protocol family 29
[    1.921286][    T1] can: raw protocol (rev 20170425)
[    1.926353][    T1] can: broadcast manager protocol (rev 20170425 t)
[    1.932748][    T1] can: netlink gateway (rev 20190810) max_hops=1
[    1.939532][    T1] Key type dns_resolver registered
[    1.944914][    T1] Registering SWP/SWPB emulation handler
[    1.980428][    T1] ALSA device list:
[    1.984154][    T1]   No soundcards found.
[    2.180169][    C0] random: crng init done
[    2.894074][    T1] VFS: Mounted root (jffs2 filesystem) on device 31:3.
[    2.902980][    T1] devtmpfs: mounted
[    2.911206][    T1] Freeing unused kernel memory: 1024K
[    2.917124][    T1] Run /sbin/init as init process
Starting logging: OK
Initializing random number generator... done.
Starting network: OK

Welcome to Buildroot
buildroot login: root
# uname -a
Linux buildroot 5.7.0-g8dcbf7e #2 SMP Wed Jun 10 21:19:56 CST 2020 armv7l GNU/Linux#34 Re: 全志 SOC » FC200S - 断断续续整了好久好久,今天终于点亮了 60PIN 的 屏幕,荔枝比较大~ » 2020-06-07 23:53:40
60Pin和40pin的普通屏幕有啥区别,调试难度大吗?
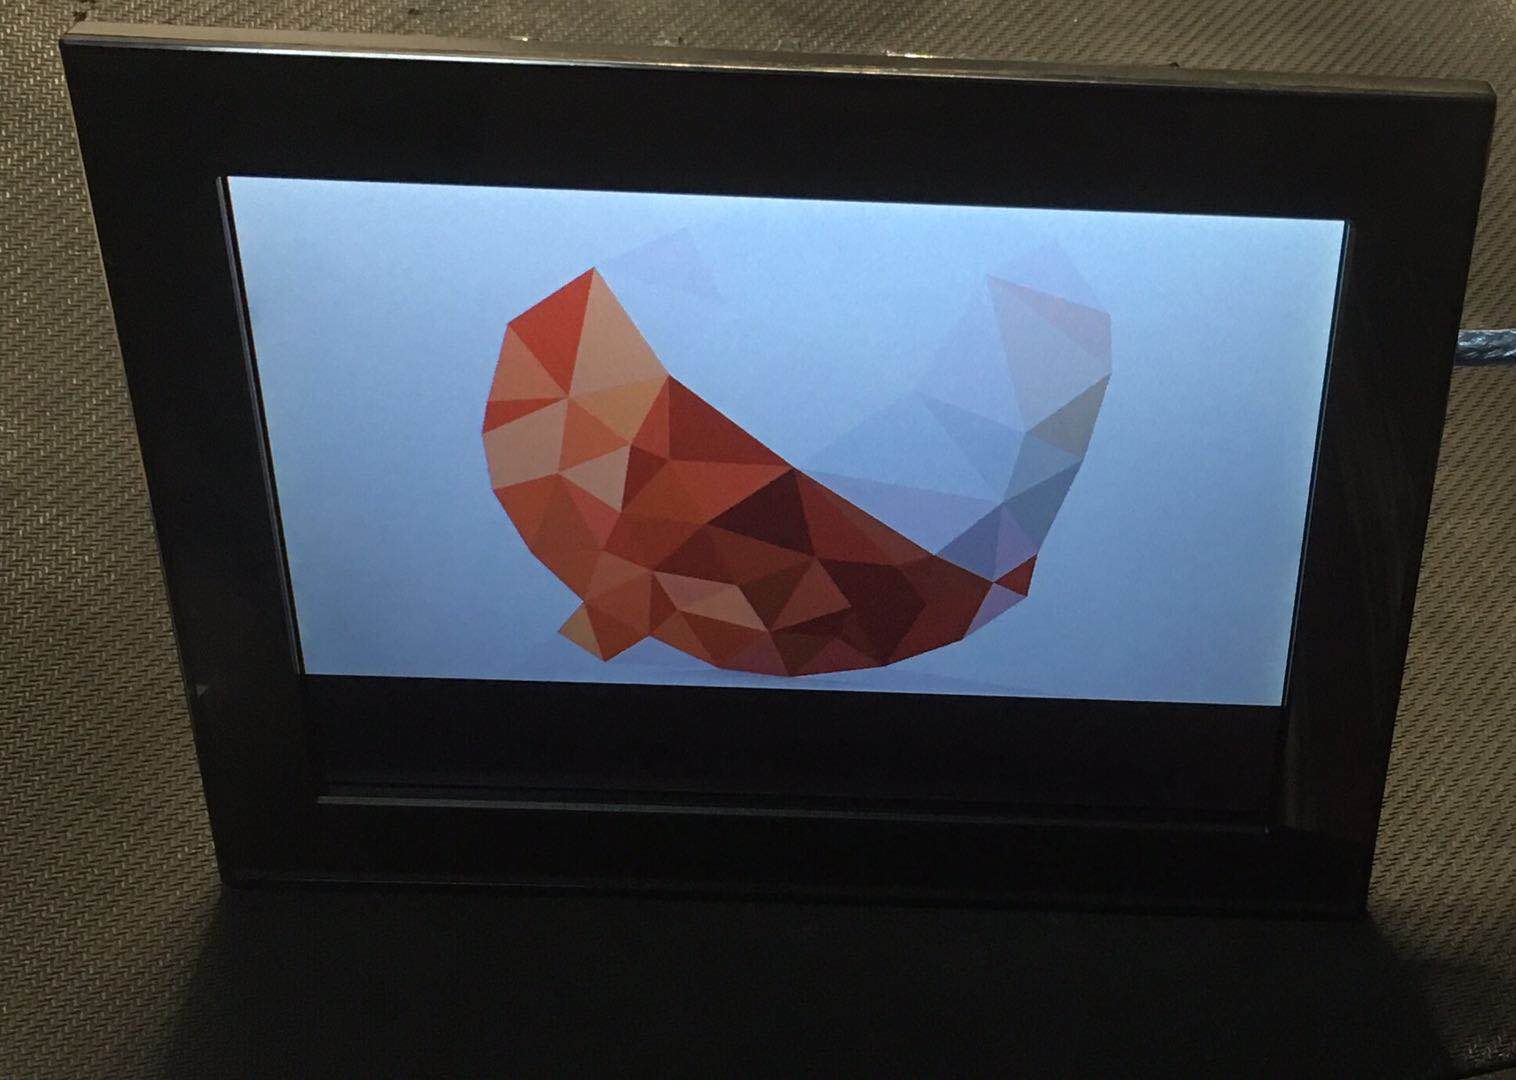
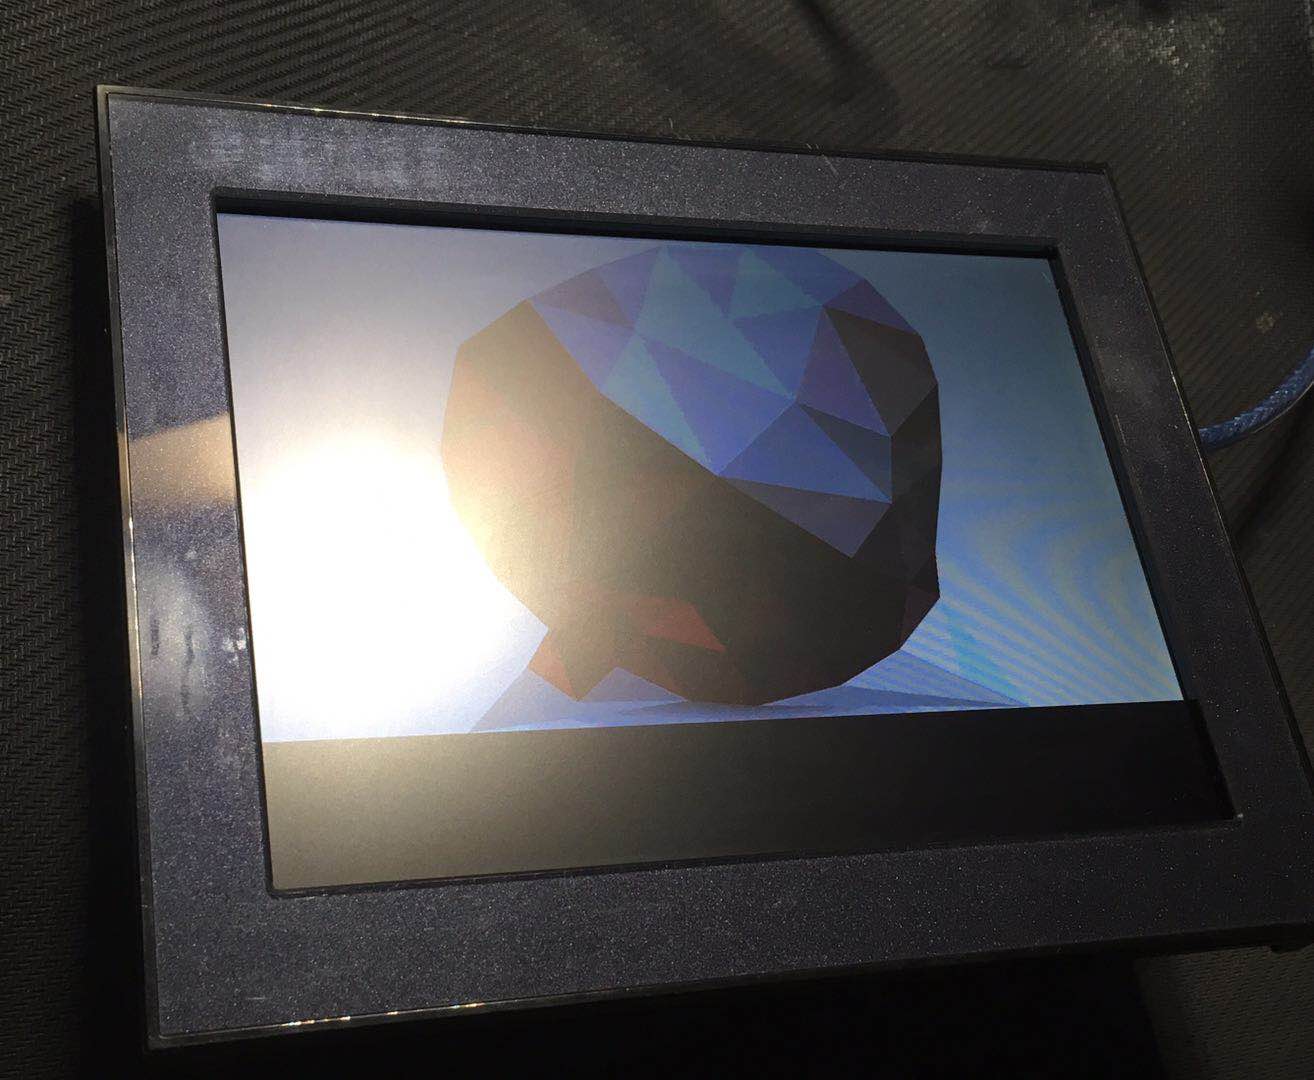
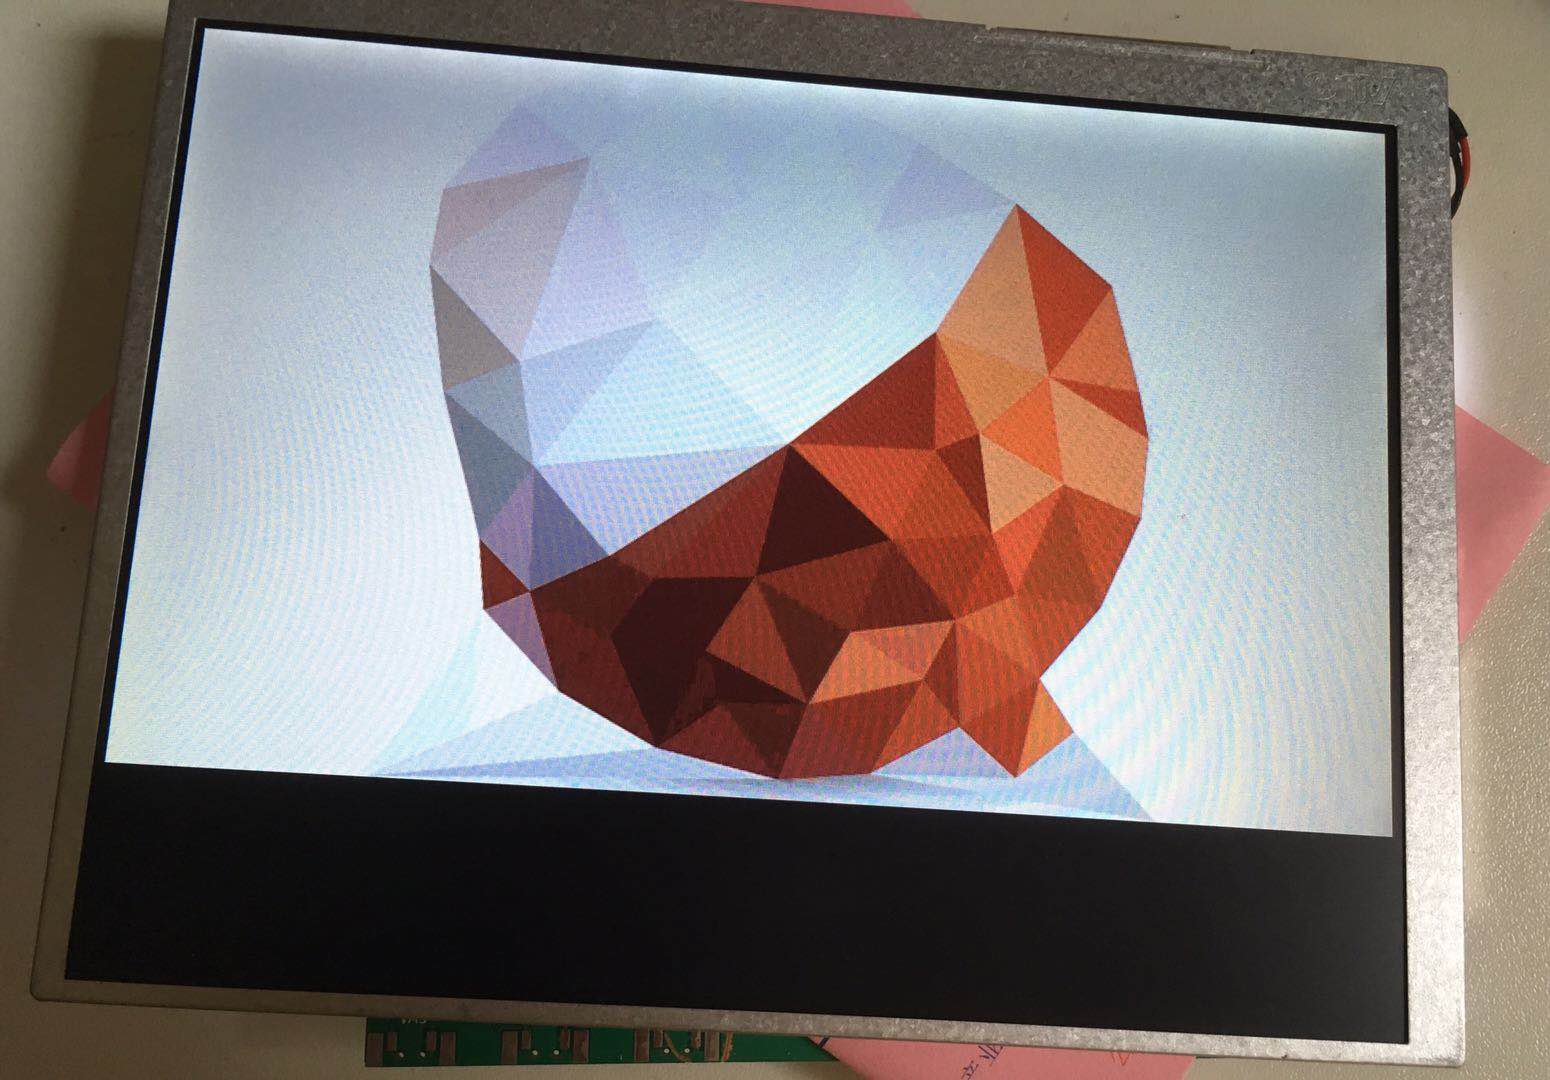
如果你之前调过其它屏幕那是不难的,只是我第一次调RGB屏幕.主要区别是:硬件要造各种电压.要花时间试验各种电路
11.6V
15V
-7V
4.9V
10.97V
9.35V
8.63V
8.18V
7.21V
5.10V
4.13V
3.67V
2.92V
1.30V
#36 Re: 全志 SOC » 有人玩H3吗? » 2020-06-06 17:51:59
#38 Re: 全志 SOC » 全志R329 A53+AIPU » 2020-06-04 11:24:27
#39 Re: 全志 SOC » 双层板的四核神器?X3(A33内置DRAM版本) » 2020-05-30 23:47:55
#42 Re: 全志 SOC » 分享H3核心板 底板 电源模块的工程文档 » 2020-05-24 16:56:14
#43 Re: 全志 SOC » 分享H3核心板 底板 电源模块的工程文档 » 2020-05-24 16:50:56
#44 Re: 全志 SOC » 分享H3核心板 底板 电源模块的工程文档 » 2020-05-23 15:46:23
#48 Re: 全志 SOC » 分享H3核心板 底板 电源模块的工程文档 » 2020-05-22 14:40:54
#51 Re: 全志 SOC » 分享H3核心板 底板 电源模块的工程文档 » 2020-05-21 09:39:43
DDR 走线是4mil?
---
我按照我自己的经验(强调一下可能不是对的,或者不是最对的,我新手)是:
尽量不要风枪对着纸盒,火灾不怕吗。。。。。。
焊BGA时板子底下最好有些温度,淘宝找 BGA返修加热台,本人是用水泥电阻DIY了一块加热板(成本5块钱+电阻)
你背面有零件,考虑贴些隔热胶带,然后放到加热的 xx 上
如果没有加热台/板。考虑放个小的铁板,铝板。风枪把铝板加热。如果这个都没有,建议用几个硬币拼起来当铁板用。
温度:100度就够,所以你可以用一杯开水,上面放一块PCB盖着杯口。PCB有洞的话用透明胶封一下,预热几十度比常温还是强
ALL IN ALL:吹焊前加热整块板子100度~150度为好
#52 Re: 全志 SOC » 分享H3核心板 底板 电源模块的工程文档 » 2020-05-20 23:37:59
#53 Re: 全志 SOC » 分享H3核心板 底板 电源模块的工程文档 » 2020-05-20 23:29:50
#54 Re: 全志 SOC » 分享H3核心板 底板 电源模块的工程文档 » 2020-05-20 23:17:09
#55 Re: 全志 SOC » 分享H3核心板 底板 电源模块的工程文档 » 2020-05-20 20:39:37
#57 Re: 全志 SOC » 分享H3核心板 底板 电源模块的工程文档 » 2020-05-17 10:50:37
#58 Re: 全志 SOC » 分享H3核心板 底板 电源模块的工程文档 » 2020-05-17 10:44:11
#59 Re: 全志 SOC » 自己画了一个全志H3 H5核心板 24X32mm BTB连接器 » 2020-05-08 23:06:07
这个是全功能底板99X99mm
屏幕把BTB母座挡住了这两个板子已经回来了 只是我还在返校隔离中 不能去取快递
我做的这些工作中有些地方参考借鉴了B站稚辉君的创意 我觉得他做的很棒
比如typeC 母座 两路USB分开 一路给了USB转双串口的CP2105 一路给了芯片的OTG
我买了一些了typec的公头 发现公头的数据接口其实只用了一面 所以可以通过正反插切换OTG和串口https://whycan.cn/files/members/3465/basetop.png
https://whycan.cn/files/members/3465/basebottom.png
请教最上面的 CAM 是怎么接 H3 的?
#60 Re: 全志 SOC » 请问大家 I2C 通讯过 30CM 排线问题大不大? » 2020-05-03 15:40:44
#62 Re: 全志 SOC » 50PIN 1024*600踩坑及后续的一种可能 » 2020-04-10 12:43:02
参考
https://whycan.cn/t_3538.htmlhttps://gitee.com/zhangheyang/f1c100s_rt-thread
这里有RTT的代码,如果只想调试屏幕,本站的裸机程序带了屏幕显示,可能更适合你参考。
代码少,功能独立,容易找到要修改的地方。
谢谢你。太好了
#63 Re: 全志 SOC » 50PIN 1024*600踩坑及后续的一种可能 » 2020-04-10 11:14:13
#65 Re: 全志 SOC » 双层板的四核神器?X3(A33内置DRAM版本) » 2020-04-02 20:20:25
CPU,SYS: 1.1V
DRAM: 1.5V
IO,PLL,USB,RTC,DSI:3.3V
DLL:2.5V
AVCC: 3.0V (LDO)
碰巧有用这个片子,飞线试了一下推H3。能跑起来,但感觉余量不够。或者专门画一块板子试一下。
可能SY8113B(等) + EA3036 也可以考虑

#66 Re: 全志 SOC » 自制F1C200S板子连接电脑USB显示无法识别 » 2020-04-02 19:53:43
#67 Re: 全志 SOC » EA3036芯片老烧大家帮我分析下。。 » 2020-03-31 17:55:03
#68 Re: 全志 SOC » EA3036芯片老烧大家帮我分析下。。 » 2020-03-30 14:43:45
谢谢你的的提点!我晚点会回去再试下新买的200s贴上去看看。
原理图是这样的:
https://whycan.cn/files/members/2288/360%E6%88%AA%E5%9B%BE20200329122634235.jpg原理图上的元件都贴了的。 焊了好多块板子(每个板子上都焊了100s芯片)EA3036都烧了,应该不会是所有的100s芯片都有问题吧。
我就驱动100s,对电容应该要求没那么高吧。现在主要是想把cup跑起来。
没有细看,不过。。。感觉电路图有问题。 VIN1/VIN2/VIN3 要放电容,至少放一个吧
建议试一下
#69 Re: 全志 SOC » 硬坑,F1C200S模块化可扩展手持机 » 2020-03-01 22:18:00
#70 Re: 全志 SOC » 硬坑,F1C200S模块化可扩展手持机 » 2020-03-01 21:03:19
#73 Re: 全志 SOC » 跟风画了个F1C200S的小板 【开源PCB】 » 2020-02-24 00:42:29
#74 Re: 全志 SOC » 跟风画了个F1C200S的小板 【开源PCB】 » 2020-02-23 23:18:06
#75 Re: 全志 SOC » 跟风画了个F1C200S的小板 【开源PCB】 » 2020-02-22 09:10:06
#76 Re: 全志 SOC » F1C200S入坑手记 » 2020-02-22 09:07:48
#77 Re: 全志 SOC » 准备用F1C00s做个项目,GUI选什么好呢? » 2020-02-18 19:05:25
#78 Re: 全志 SOC » 请教各位 F1C100S 的各路电流 » 2020-02-18 18:51:50
#79 Re: 全志 SOC » 请教各位 F1C100S 的各路电流 » 2020-02-18 17:32:59
#80 Re: 全志 SOC » 请教各位 F1C100S 的各路电流 » 2020-02-18 17:16:01
谢谢你。从时序图看是“要求”同时上电。而不是“可以”对吗。看不出timing间隔/余量。
我相信在实验室随便搭都能跑,但是怕的是批量是部分不良。
入坑第二天,还不熟悉。请各位大神继续指教~~
#81 Re: 全志 SOC » 跟风画了个F1C200S的小板 【开源PCB】 » 2020-02-18 17:05:57
#83 Re: 全志 SOC » 跟风画了个F1C200S的小板 【开源PCB】 » 2020-02-18 10:14:54
#84 Re: 全志 SOC » 跟风画了个F1C200S的小板 【开源PCB】 » 2020-02-17 10:28:07
#86 Re: 全志 SOC » F1C100S 为什么要这么多路电压 » 2020-02-16 17:57:24
#87 Re: 全志 SOC » F1C100S 为什么要这么多路电压 » 2020-02-16 17:54:23
#88 Re: 全志 SOC » F1C100S 为什么要这么多路电压 » 2020-02-16 13:14:51
#89 Re: 全志 SOC » 跟风画了个F1C200S的小板 【开源PCB】 » 2020-02-16 12:41:14
嗯。。还有如果加上 .gitignore 就更好了。。
比如这个
https://github.com/github/gitignore/blob/master/KiCad.gitignore
我就不PR你了
#90 Re: 全志 SOC » 跟风画了个F1C200S的小板 【开源PCB】 » 2020-02-16 12:31:03
#91 Re: 全志 SOC » 跟风画了个F1C200S的小板 【开源PCB】 » 2020-02-16 12:28:56
页次: 1
- 首页
- » 搜索
- » everlink 发表的帖子
太原小智科技有限责任公司 - 东莞哇酷科技有限公司联合开发

